Alternative Linux Distributions
Linux distributions other than Ubuntu that I have used, are currently using, or are considering for future use.
Linux Mint

Linux Mint is generally regarded as the easiest way to get away from Windows and Mac and enter the wonderful world of open-source operating systems. With a simple installation process, great interface and a lot of ease-of-life features, there’s nothing stopping you from trying out this great version of Linux, especially if you want to avoid Windows 11.
I, myself, started out using Linux Mint when I decided to get away from Microsoft Windows.
The driving factors for my migration from proprietary operating systems to Linux were:
- I was tired of have to reboot my PC every few days to "patch" Windows
- It was taking WAY too long to boot my computer. Sometimes 8-10 minutes a boot. Particularly after a large "patch" would be applied.
- The infamous "Blue screens of death" had become commonplace and I no longer wanted to have to rebuild my PC every few months.
- Anti-virus software and Anti-malware software subscriptions were driving my nuts. I thought there had to be a better way!
Several Internet searches later and I kept being pointed to Linux Mint as the "go to" for a Windows-like experience without the fuss. They were right. I ended up using Mint for several years and as I became more familiar with Linux I ended up outgrowing it and moving on to other Linux distributions. I must say if you are currently using Windows as your operating system but are hesitant to dip your toe into Linux; Linux Mint is the way to start out. You won't be disappointed!
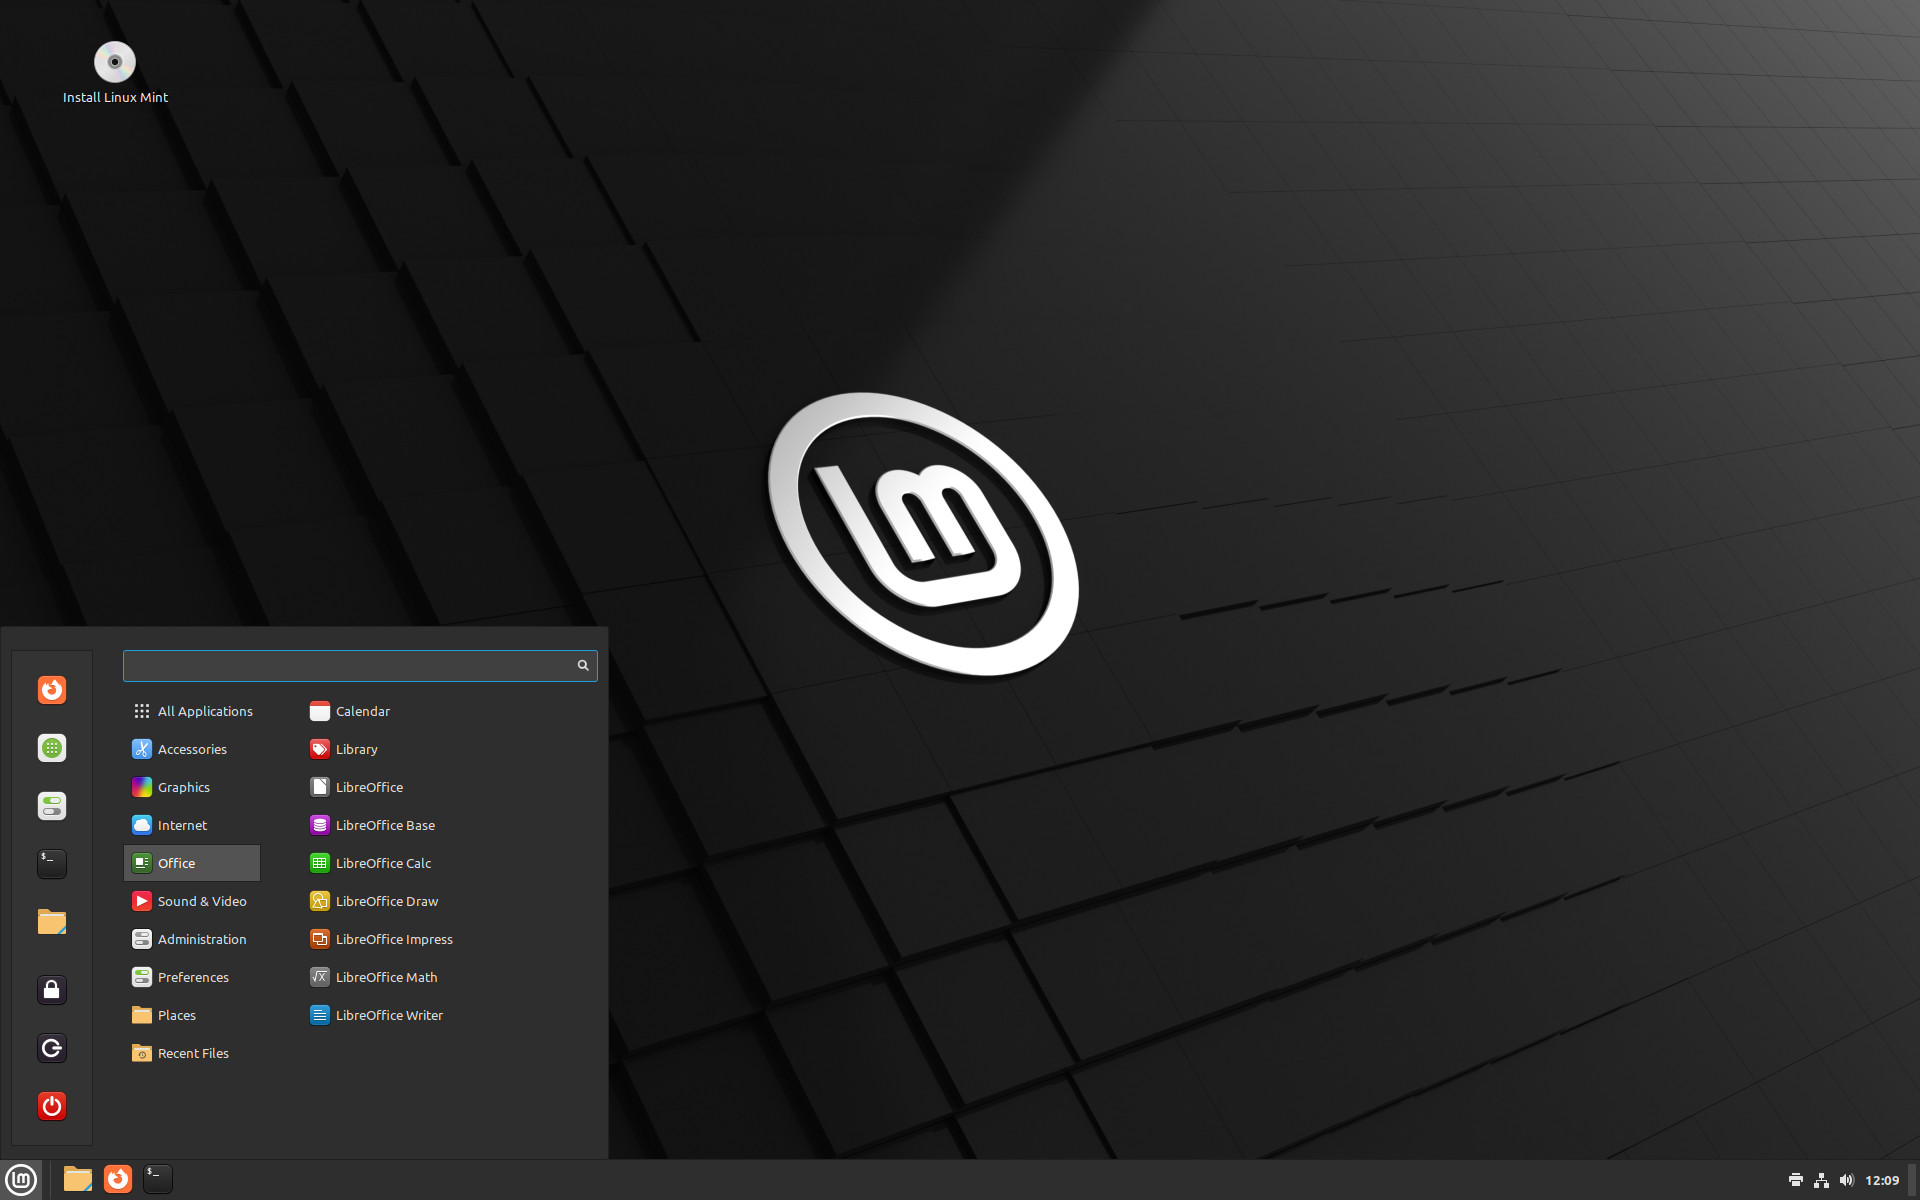
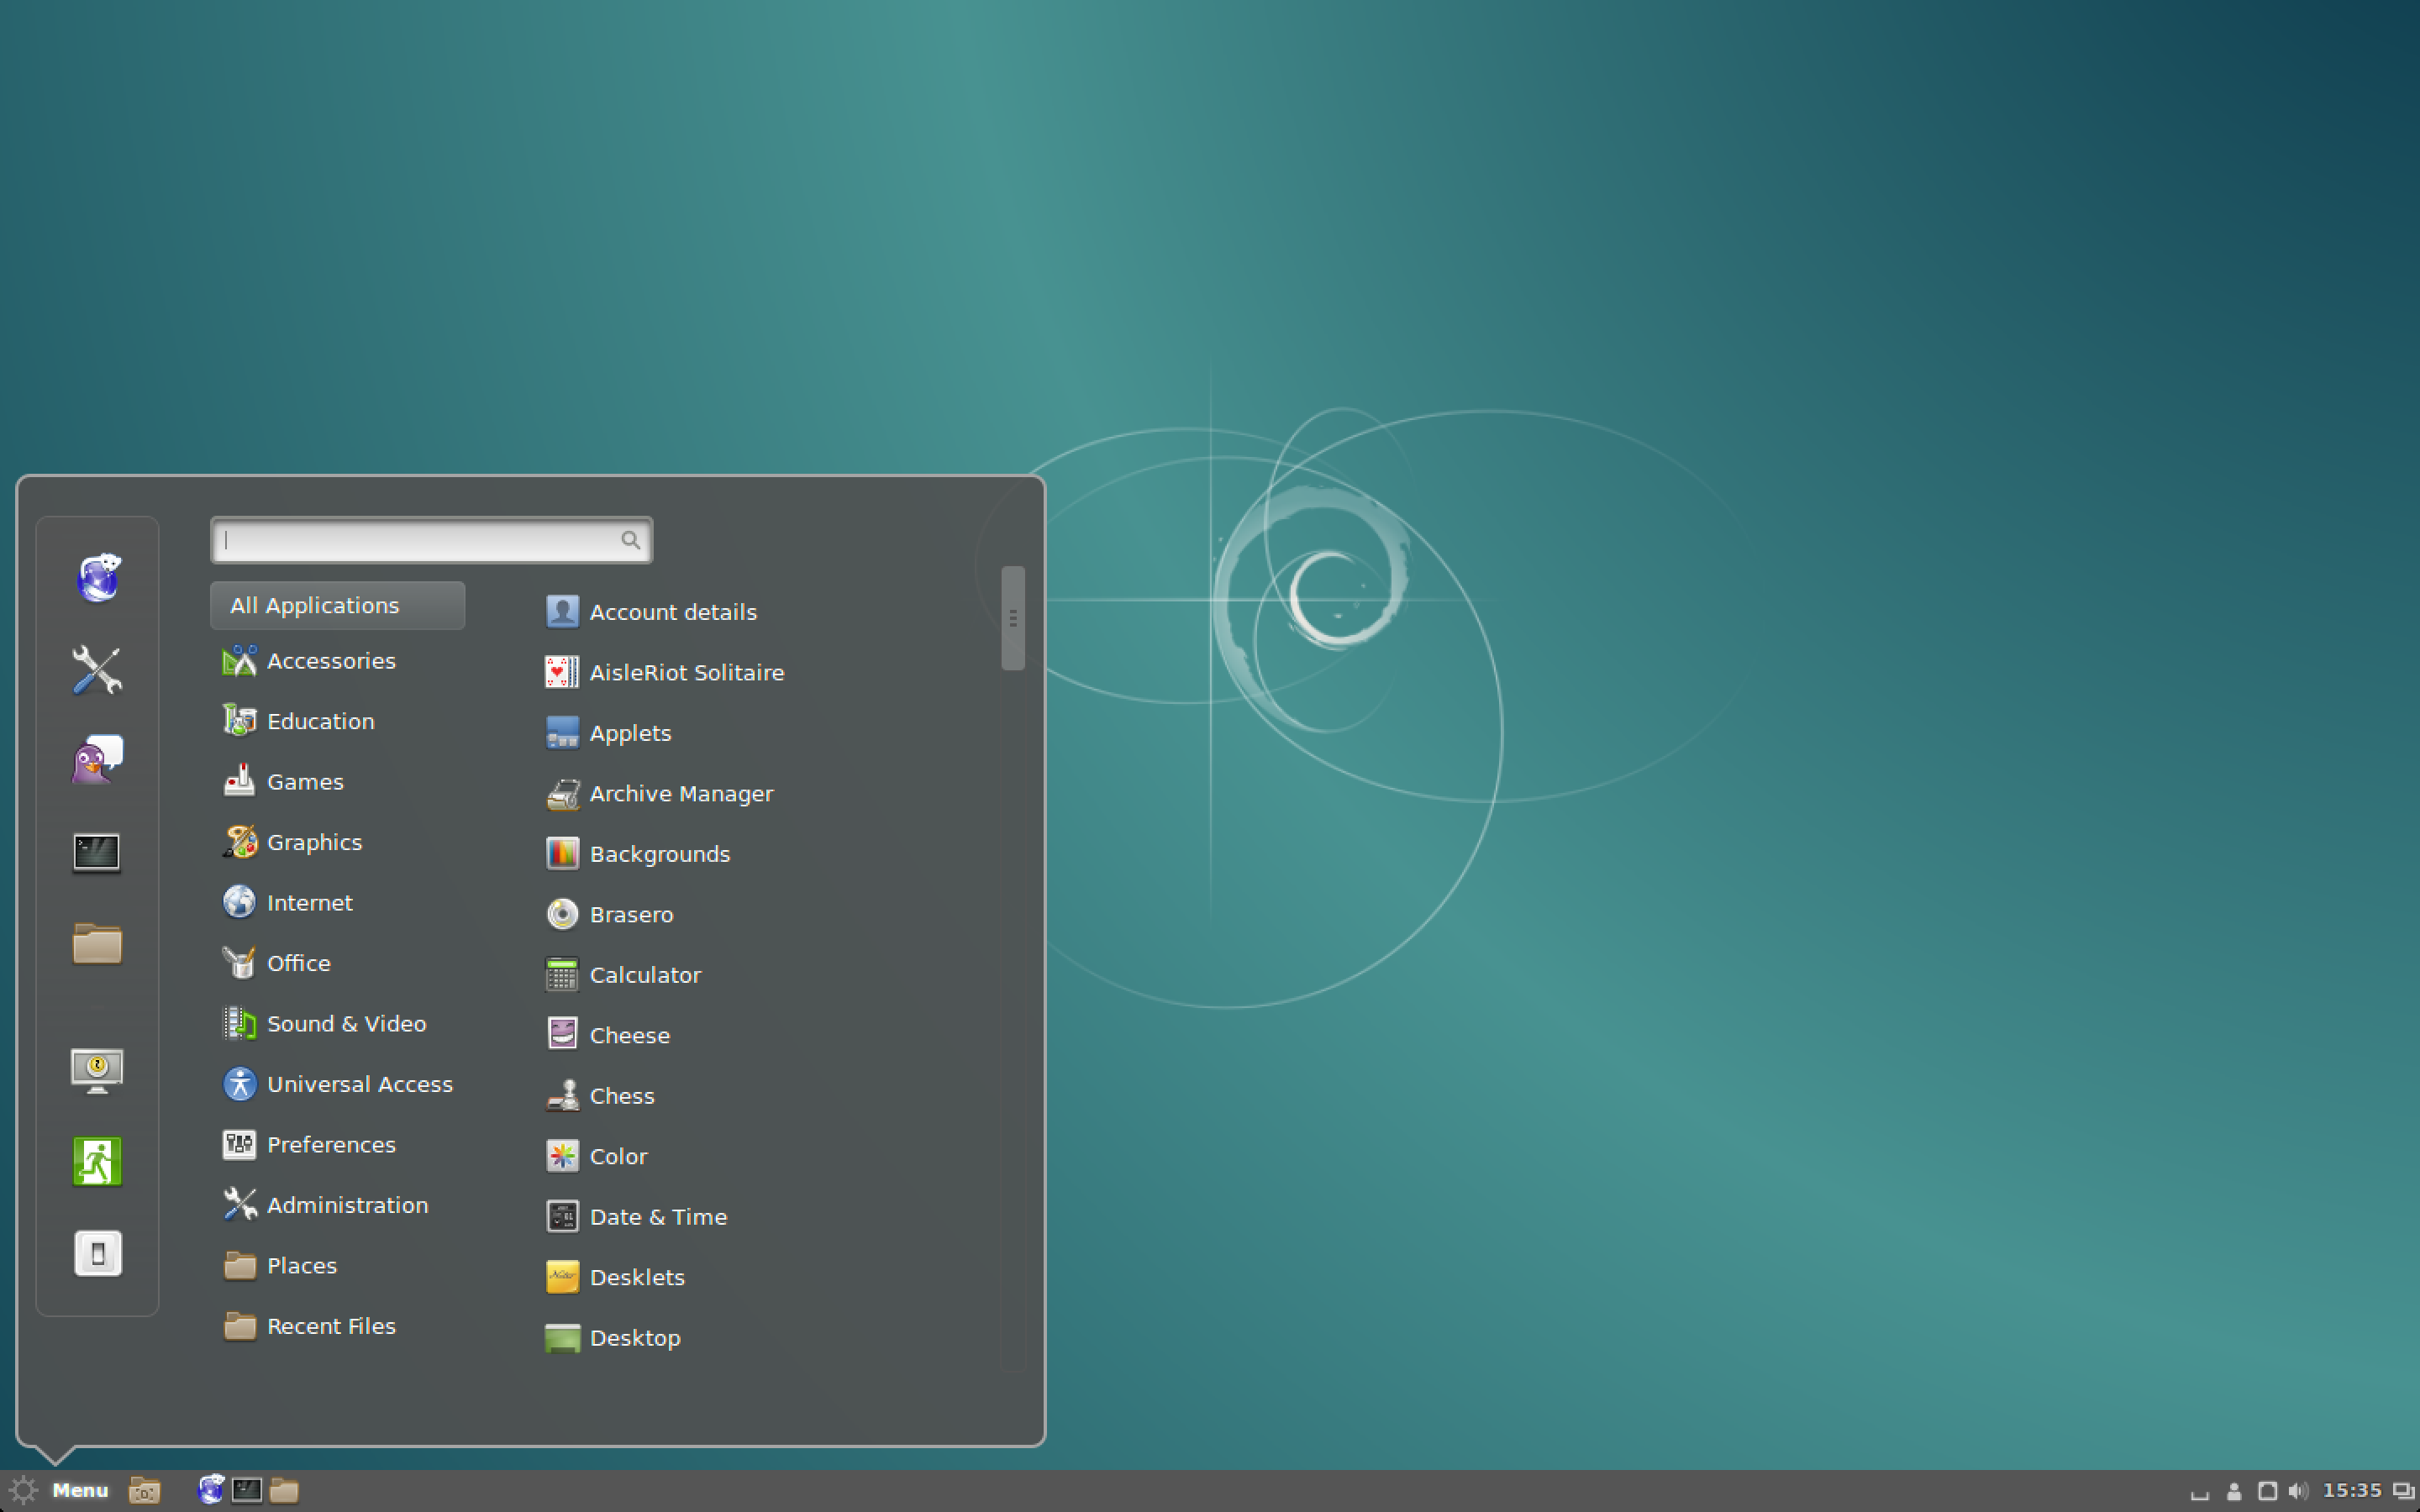
Screenshot of Linux Mint 21 - Cinnamon Edition
Installation
Undoubtedly, Linux Mint is one of the best Linux distributions for beginners. It is easy to use, doesn’t consume lots of system resources and because it is Debian based (like Ubuntu), it has tons of software available as well as a large community for support.
Like other Debian-based Linux distributions, there are three main ways to install Linux Mint:
- Install Linux Mint in VirtualBox in Windows like a regular desktop application.
- Install Linux Mint in dual boot mode with Windows keeping both Windows and Linux Mint on the same computer.
- Replace all other operating systems and install Linux Mint as the only OS on your computer.
IMHO it is best to cut the Microsoft cord completely when installing a Linux distribution. Doing so forces you to address any learning curve head on and you will be better for it later.
If you don't feel comfortable with that you can go to the official Linux Mint installation guide to see ALL the methods of installation.
Install Linux Mint by replacing Windows or any other operating system
Linux Mint comes in 3 different flavors, each featuring a different desktop environment.
| Cinnamon | The most modern, innovative and full-featured desktop |
| MATE | A more traditional, and faster desktop |
| Xfce | The most lightweight desktop |
The most popular version of Linux Mint is the Cinnamon edition and that is the edition we will be using in this guide.
Step 1 - Download "Cinnamon" Edition Linux Mint
Go to the official Linux Mint download site and download the latest version of the Linux Mint distribution. At the time of this writing, that would be Linux Mint 21.1 "Vera" (Cinnamon Edition).
Step 2 - Verify your Download
After you obtain your download, It is considered standard practice to verify the integrity and authenticity of your ISO image.
The integrity check confirms that your ISO image was properly downloaded and that your local file is an exact copy of the file present on the download servers. An error during the download could result in a corrupted file and trigger random issues during the installation.
The authenticity check confirms that the ISO image you downloaded was signed by Linux Mint, and thus that it isn’t a modified or malicious copy made by somebody else.
The full instructions for verifying the integrity and authenticity of your download can be found HERE
I'll be honest here. I rarely perform integrity and authenticity checks on downloads; especially if I am downloading from a trusted source. With that said, if you don't feel comfortable installing it "as is" please perform the integrity and authenticity checks.
Step 3 - Create the boot media
The most common and easiest way to install Linux Mint is with a USB stick. You can also use a DVD, but that is outside the scope of this guide.
How to make a bootable USB stick
If you are migrating to Linux Mint for the first time, you will likely be using Windows, Mac OS or another Linux distribution. The steps below will show you how to prepare your USB stick for a Linux Mint installation.
1. Download Etcher, install it and run it.
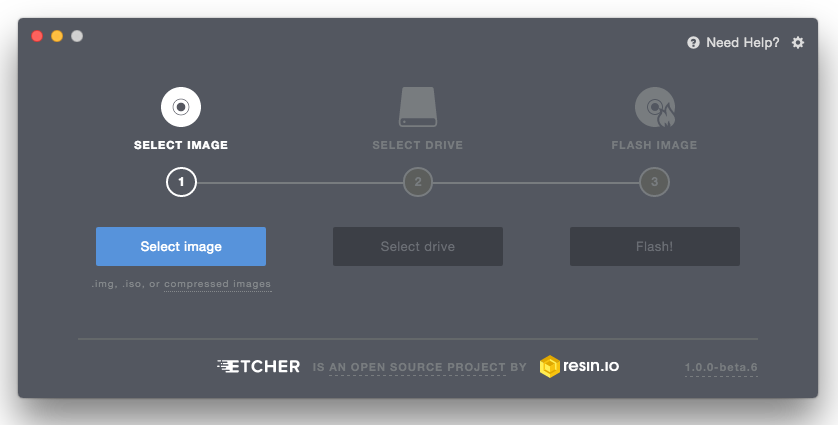
2. Using Etcher, Click Select image and select your ISO file (the file you downloaded from Linux Mint).
3. Click Select drive and select your USB stick.
4. Click Flash!
Step 4 - Boot Linux Mint
Now that you have Linux Mint on a USB stick boot the computer from it.
- Insert your USB stick into the computer.
- Restart the computer.
- Before your computer boots your current operating system (Windows, Mac, Linux) you should see your BIOS loading screen. Check the screen or your computer’s documentation to know which key to press and instruct your computer to boot on USB.
Most BIOS have a special key you can press to select the boot device and all of them have a special key to enter the BIOS configuration screen (from which you can define the boot order). Depending on the BIOS, these special keys can be Escape, F1, F2, F8, F10, F11, F12, or Delete. That information is usually briefly written on the screen during the boot sequence.
On Macs, keep your finger pressed on the Alt or Option key after hearing the boot sound.
- The Linux Mint ISO can be booted both in EFI or BIOS mode. In BIOS mode it shows an isolinux menu. In EFI mode it shows a grub menu.
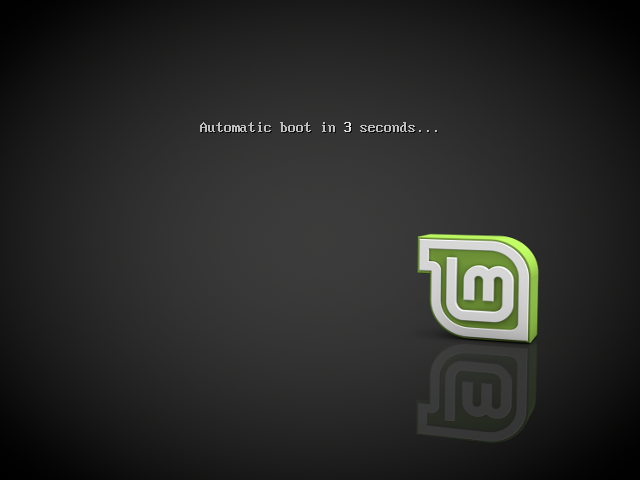
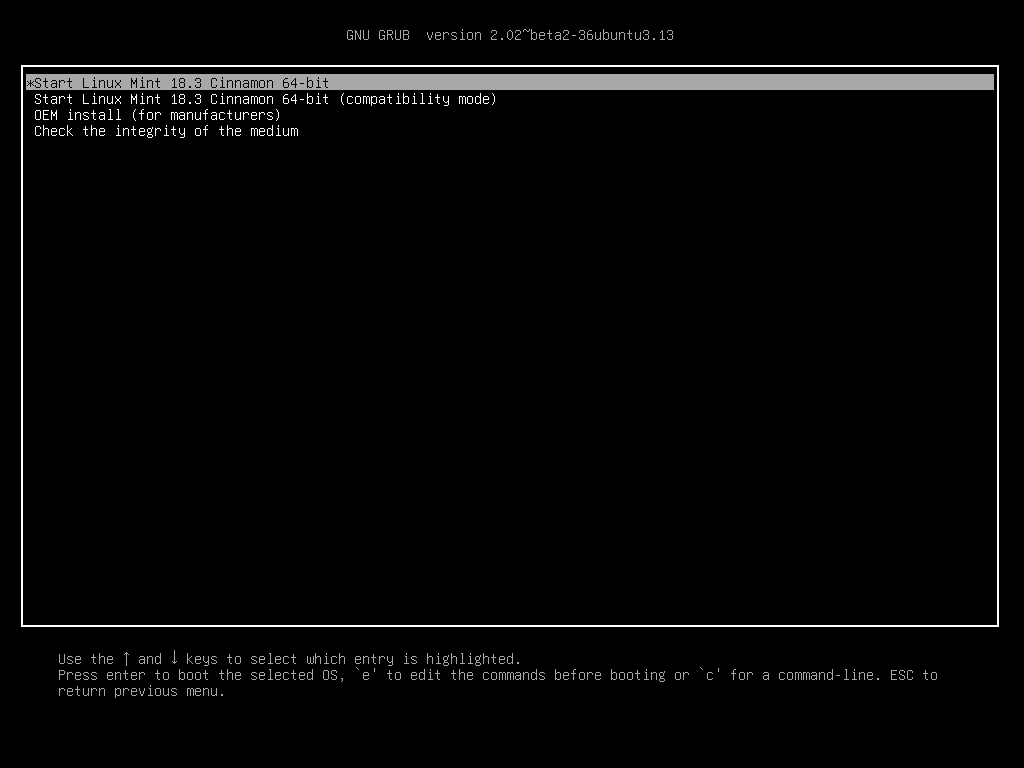
- From whichever menu you receive, press Enter to start Linux Mint from your USB stick.
When you boot the computer from the USB stick, Linux Mint starts a "Live Session". It logs you in automatically as a user called "mint" and shows you a desktop with the installer on it:
The Linux Mint live session
The live session is similar to a normal session (i.e. to Linux Mint once it is permanently installed on the computer), but with the following exceptions:
- The Live session is slower (it is loaded from a USB stick as opposed to a SSD or HDD).
- Changes you make in the live session are not permanent. They are not written to the USB stick and they do not impact the system installed by the installer.
- Some applications work differently (or not at all) in the live session (Timeshift, Flatpak, Update Manager, Welcome Screen..etc.).
The username for the live session is mint. If asked for a password press Enter.
Step 5 - Installing Linux Mint on the computer
To permanently install Linux Mint on your computer:
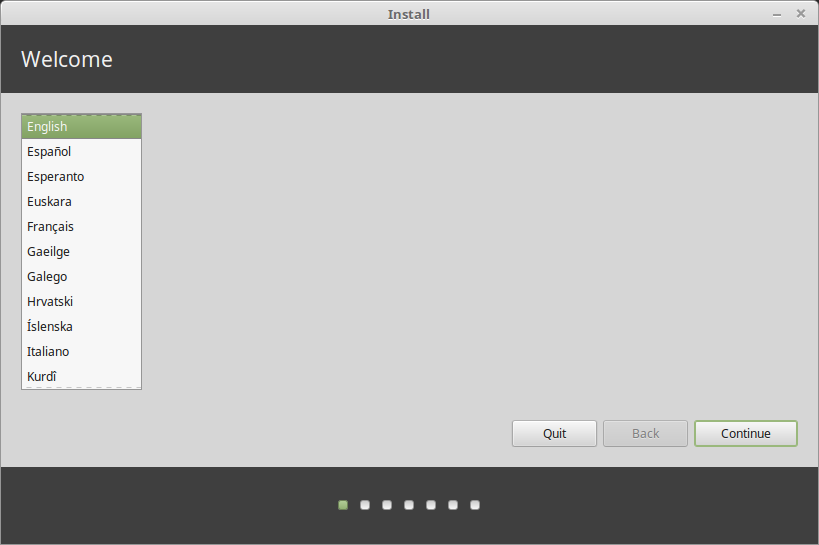
- Double-click Install Linux Mint.
- Select your language.
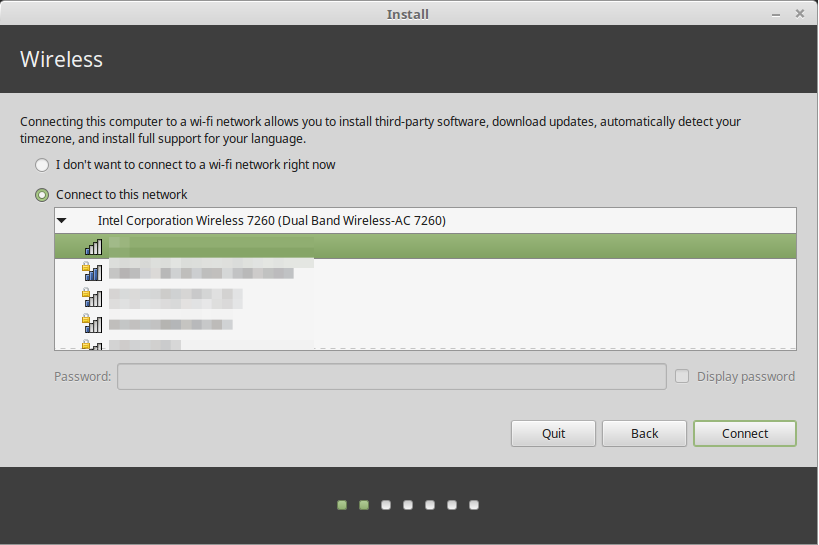
- Connect to the Internet.
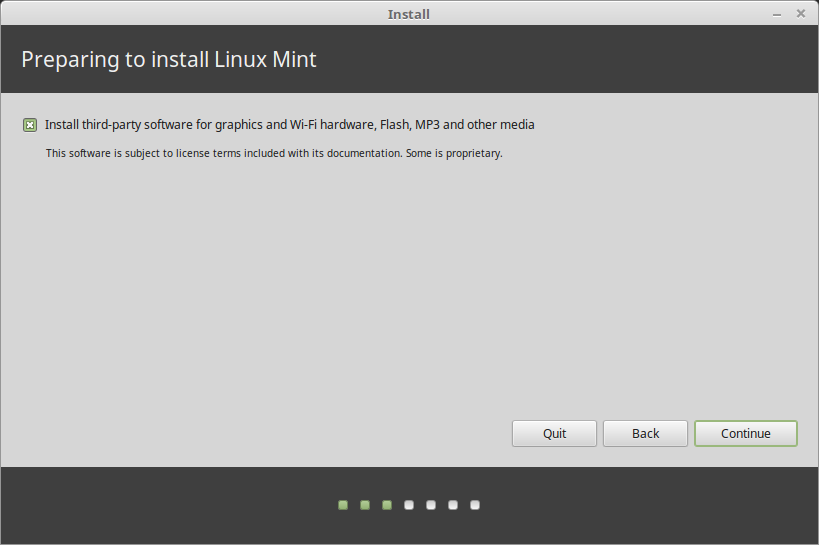
- If you are connected to the Internet, tick the box to install the multimedia codecs.
- Choose an installation type.
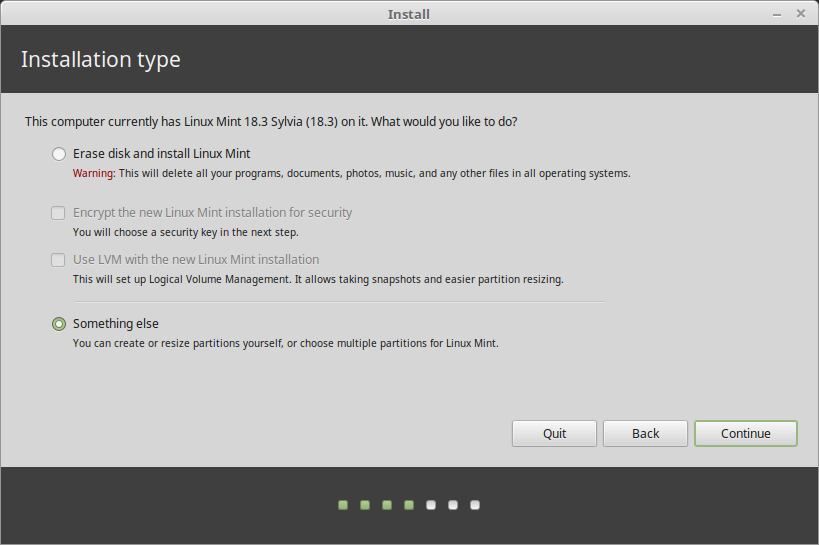
If Linux Mint is the only operating system you want to run on this computer and all data can be lost on the hard drive, choose "Erase disk and install Linux Mint".
"Erase disk and install Linux Mint" is my recommended installation type. Just make sure you backup any data you want to preserve before choosing this.
"Encrypt the new Linux Mint installation for security" refers to full disk encryption. At this stage of the installation your keyboard layout wasn’t yet selected so it is set to en_US. If you decide to use this option, keep this in mind when entering a password. Note that there are issues with this option and some NVIDIA drivers. If you are new to Linux use home directory encryption instead (you can select it later during the installation).
If another operating system is present on the computer, the installer shows you an option to install Linux Mint alongside it. If you choose this option, the installer automatically resizes your existing operating system, makes room and installs Linux Mint beside it. A boot menu is set up to choose between the two operating systems each time you start your computer.
If you want to manage the partitions or specify which partitions to use, select "Something else".
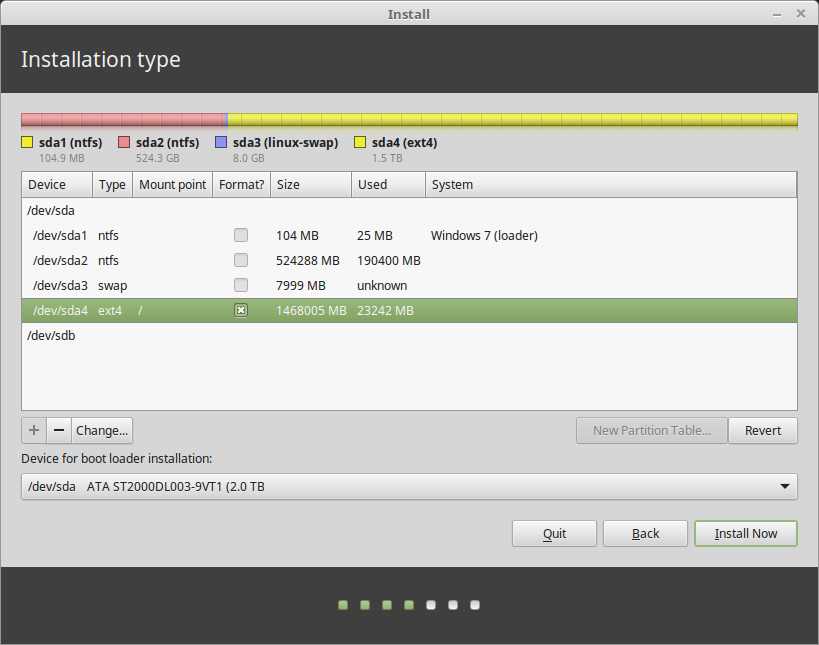
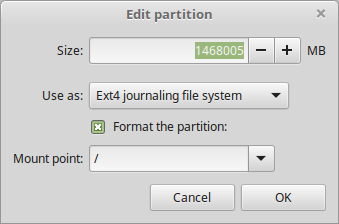
Linux Mint requires one partition to be mounted on the root / directory.
The Linux Mint operating system (without additional software or personal data) takes roughly 15GB, so give this partition a decent size (100GB or more).
ext4 is recommended. It is the most popular Linux filesystem.
Also create a swap partition. This partition is used for hibernation and as a safety buffer in case your computer runs out of RAM. Give this partition a size equal to the amount of RAM in your computer.
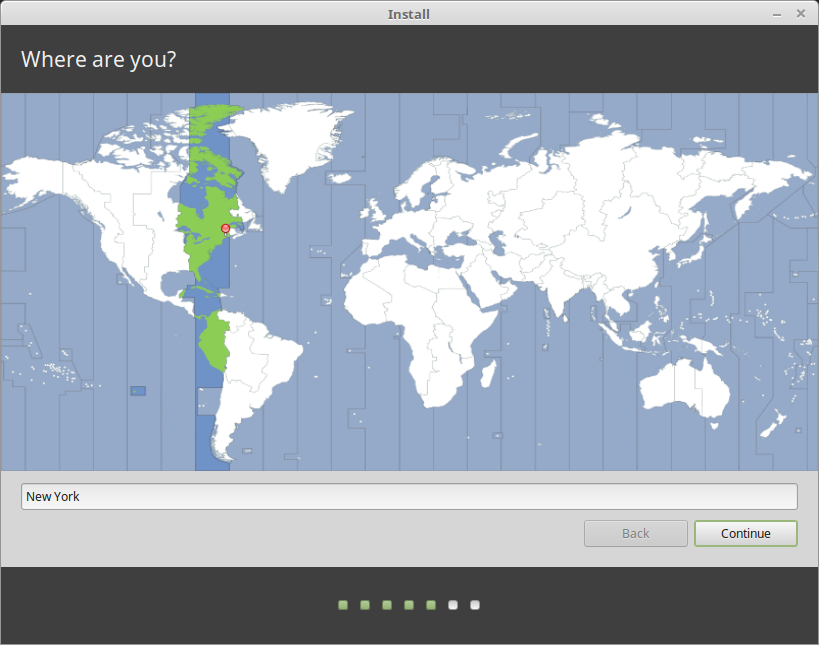
- Select your timezone
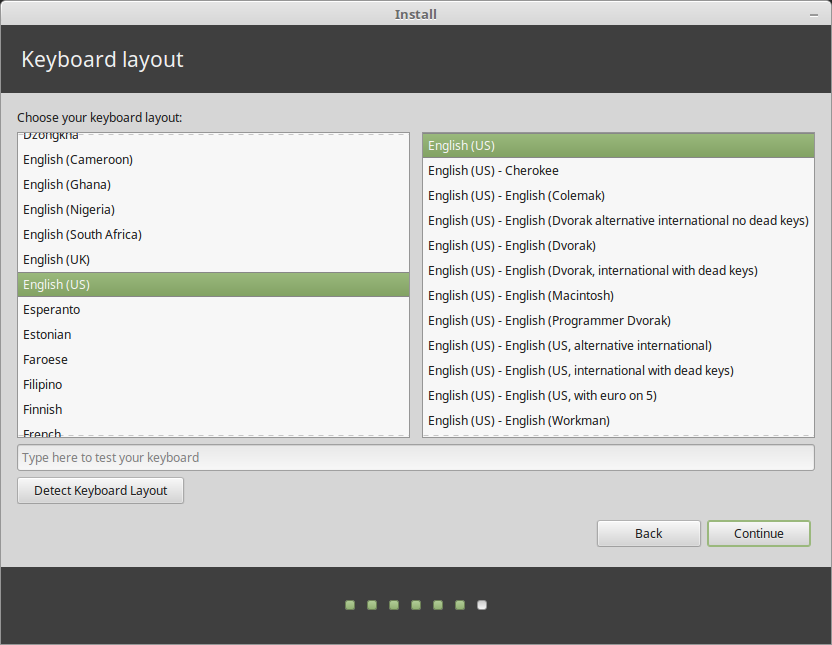
- Select your keyboard layout
- Enter your user details
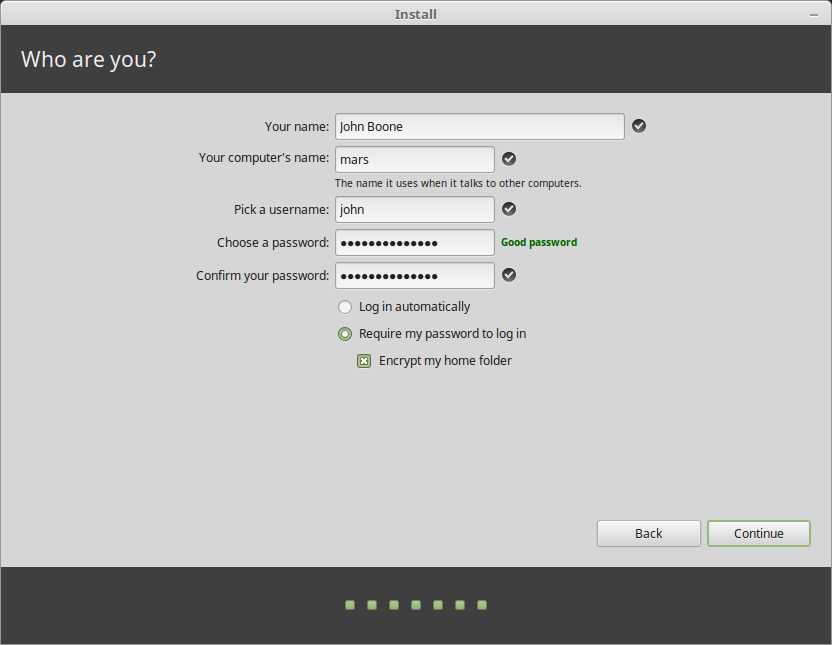
Your name can be your real name, but it doesn’t have to be. It is only used locally, in the screensaver and on the login screen.
Your username is what you log in as, and your hostname is the name of your computer on the network.
To prevent bugs only use lowercase characters, with no punctuation or accentuation.
To protect your personal data against local attacks (people around you, or in case your computer gets stolen), tick Encrypt my home folder.
Choose a strong password.
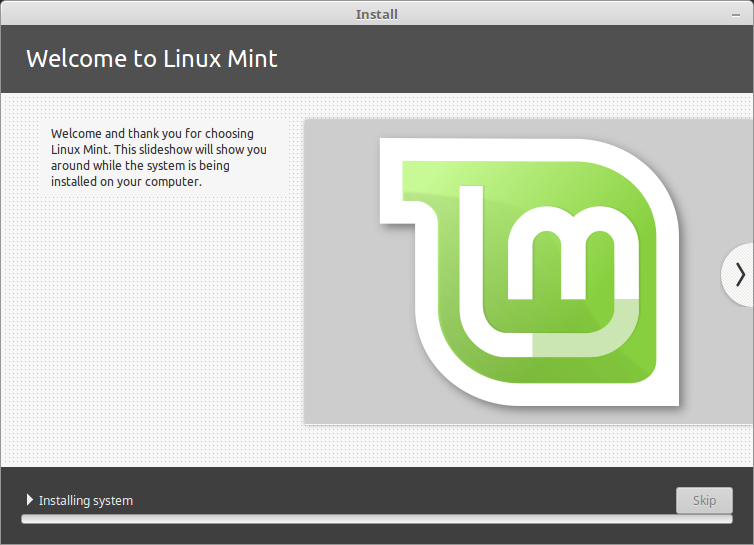
- Enjoy the slideshow while Linux Mint is installed on your computer.
When the installation is finished, click Restart Now.

The computer will then start to shut down and ask you to remove the USB disk. Upon reboot, your computer should show you a boot menu or start your newly installed Linux Mint operating system.
Lubuntu

Lubuntu started life as a distro designed to run on older, slower, and lower-spec hardware, and that remains one of its selling points: It needs as little as 1GB of memory (though there are no official minimums).
But its developers have fine-tuned its approach in the past couple of releases, focusing on a light but more modern distro. Hence the move to the LXQt desktop, the Calamares installer used by Fedora, the KDE Muon software center, and the decision to drop the 32-bit version.
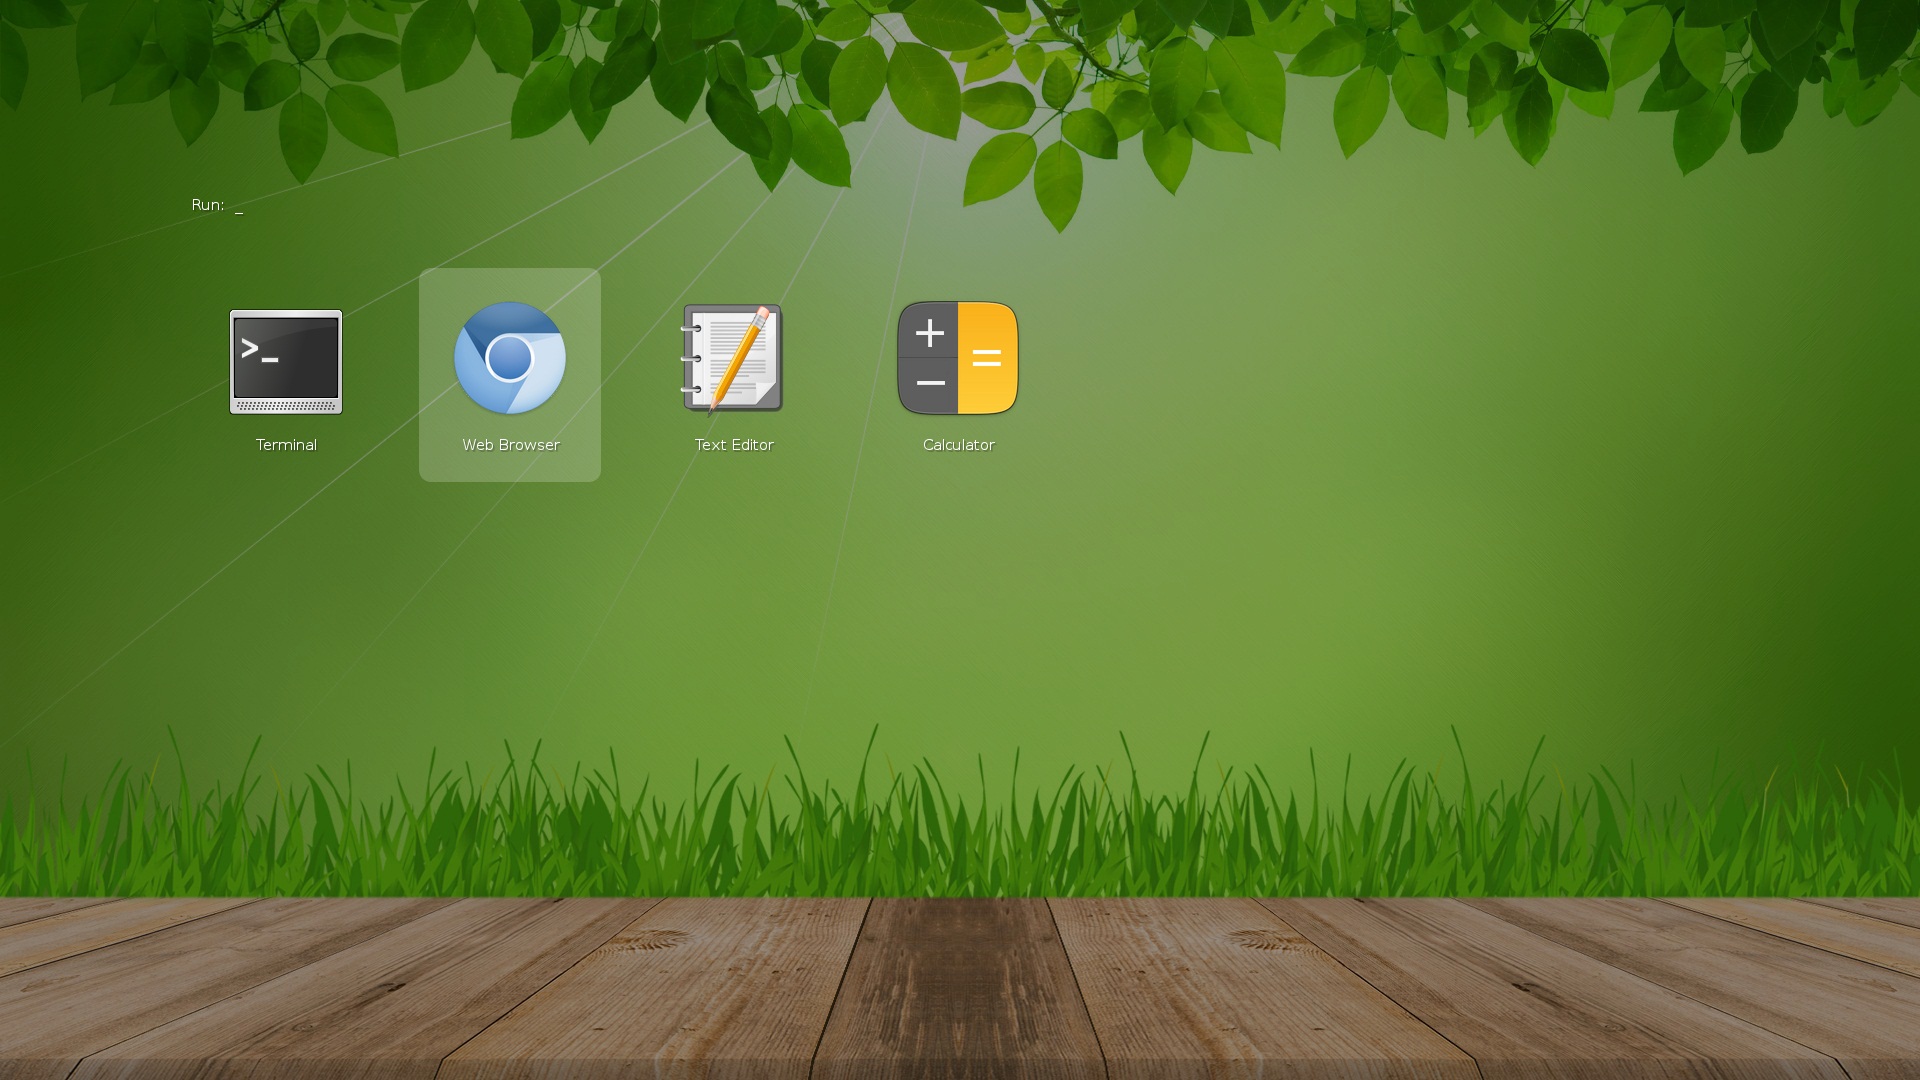
This distro has been my "go to" for older, lower specification hardware. I currently run Lubuntu on a 12 year old laptop and it is stable and relatively quick. Updates/upgrades are issued regularly; usually in line with Ubuntu LTS releases.

Lubuntu 22.04 desktop
Installation
The install process for Lubuntu is nearly identical to other Ubuntu-based distro installations.
It consists of:
Clicking the steps above will take you to that installation step on the official Lubuntu site.
If you are already familiar with installing linux distributions, go here to select the appropriate Lubuntu distro for your hardware:
Tails
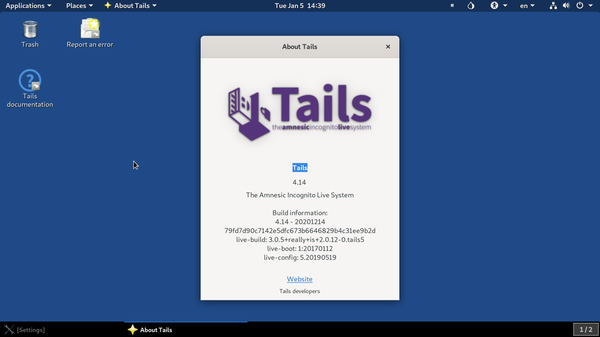
What is Tails?
Tails (which stands for ‘The Amnesiac Incognito Live System’) is probably the most well-known privacy-focused distro. It can be run from a DVD or USB in Live mode whereby it loads entirely into your system RAM and everything is purged from the system whenever it is powered off. Tails is designed to do an emergency shutdown and erase its data from RAM if the medium where it resides is expelled. The OS can also be used in ‘persistent’ mode where your settings can be stored on an encrypted USB stick.
I have been using Tails since 2013. It is IMHO the best security distribution that is non-persistant (temporary)
All connections are routed through the anonymity network Tor, which conceals your location. The applications in Tails have also been carefully selected to enhance your privacy – for example, there’s the KeePassX password manager and Paperkey, a command line tool used to export OpenPGP secret keys to print on paper.
The distro also ships with a number of desktop applications such as LibreOffice, GIMP, Pidgin, Inkscape, Audacity and Thunderbird. You can also utilize the Synaptic Package Manager to flesh out the Gnome-powered distro. Any packages you choose to install aren’t made available at subsequent reboots, unless you configure persistent storage.
History
Tails was first released on June 23, 2009. It is the next iteration of development on Incognito, a discontinued Gentoo-based Linux distribution. The Tor Project provided financial support for its development in the beginnings of the project. Tails also received funding from the Open Technology Fund, Mozilla, and the Freedom of the Press Foundation.
Laura Poitras, Glenn Greenwald, and Barton Gellman have each said that Tails was an important tool they used in their work with National Security Agency whistleblower Edward Snowden.
Government Interest
In 2014 Das Erste reported that the NSA's XKeyscore surveillance system sets threat definitions for people who search for Tails using a search engine or visit the Tails website. A comment in XKeyscore's source code calls Tails "a comsec [communications security] mechanism advocated by extremists on extremist forums".
In the same year, Der Spiegel published slides from an internal National Security Agency presentation dating to June 2012, in which the NSA deemed Tails on its own as a "major threat" to its mission and in conjunction with other privacy tools as "catastrophic".
Some might consider the US government's attention and interest to this linux distribution a negative. However, I see it as evidence that it is on the right track for privacy advocates and those who cherish freedom. After all, any government that believes it has a right to any aspect of its citizens lives (including privacy) is on the road to totalitarianism.
Installing
You can install Tails to a USB stick from just about any OS.
Go here to see the various installation methods
It is important to note that from release 3.0, Tails requires a 64-bit processor to run.
Debian

Debian, also known as Debian GNU/Linux, is a Linux distribution composed of free and open-source software, developed by the community-supported Debian Project, which was established by Ian Murdock on August 16, 1993. The first version of Debian was released on September 15, 1993, and its first stable version was released on June 17, 1996. It is one of the oldest operating systems based on the Linux kernel.
Many alternative Linux distributions are based on Debian, including Ubuntu, Linux Mint, Tails, and many others.
I do not currently use Debian for any of my servers or desktops, however I am planning to evaluate it as a server OS alternative in the near future. The primary reason is its renowned stability and efficient use of resources. Whether those are better than Ubuntu Server or not, we will see.
Debian Cinnamon Desktop
Installation
Installation instructions for the various Debian supported architectures and flavors can be found on the official Debian website.
Alpine Linux

Alpine Linux is designed to be used for a variety of purposes, including servers, containers, and embedded devices. It is notable for it’s small size (as of the Alpine Linux (3.15.0), the minimum size of the ISO image is around 129 MB and a minimal Alpine image can be as small as 5MB in size) and minimalistic design, which makes it well-suited for resource-constrained environments.
This distribution is one I haven't used yet. I'm looking to evaluate it for possible use as an alternative to Lubuntu for older hardware with low resources or possibly a Tails alternative.
Features of Alpine Linux:
- Lightweight: Alpine Linux is one of the smallest Linux distributions available, with a size of only about 5 MB. This makes it ideal for use in environments where small size is essential, such as containerized environments.
- Security-oriented: Alpine Linux has a security-focused approach, which means it is designed to minimize the potential attack surface. For example, it uses the musl C library instead of the more common glibc, which reduces the potential for buffer overflows and other security vulnerabilities
- Package management: Alpine Linux uses the apk package manager, which allows for easy installation, upgrading, and removal of packages. It also provides automatic dependency resolution and can install packages from both Alpine’s official repositories and from third-party sources
- Compatibility: Although Alpine Linux is a lightweight distribution, it is compatible with a wide range of software and libraries. For example, it is possible to run applications built for other Linux distributions on Alpine Linux.
Use cases of Alpine Linux:
- Containerization: As mentioned earlier, Alpine Linux is very popular in containerized environments because of its small size and security-focused approach. It is used as a base image for Docker containers, making it an ideal choice for running microservices.
- Networking: Alpine Linux’s small size and performance make it an excellent choice for use in network devices such as routers and firewalls. Additionally, its security focus makes it an ideal choice for running network services that require a high level of security.
- Cloud Computing: Alpine Linux is an excellent choice for use in cloud computing environments because it is lightweight and efficient. This makes it ideal for running applications in the cloud, especially those that require a high level of security.
- Embedded Systems: Alpine Linux is an excellent choice for use in embedded systems because it is lightweight and efficient. Additionally, its compatibility with a wide range of software and libraries makes it an excellent choice for use in embedded applications.
The containerization and network (router) use cases are of particular interest to me. When I evaluate this distro I will keep these in mind and write up anything interesting that I find.
Installation
Alpine Linux image downloads can be found on the official Alpine Linux downloads page.
Slax

Slax is a compact, fast, and modern Linux operating system that combines sleek design with modular approach. With the ability to run directly from a USB flash drive without the need for installation, Slax is truly portable and fits easily in your pocket.
Super lightweight and resource efficient, It makes a good alternative to Lubuntu for older, low spec hardware and unlike Lubuntu it still supports 32-bit systems as well as modern 64-bit systems.
Kodachi
Kodachi is a Linux distro for privacy and security. It s designed for anyone who cares about their privacy and needs a secure, anti-forensic, and anonymous distro. The latest edition of the distro is based on Ubuntu and uses a customized Xfce desktop.
![]()
Parrot OS

Parrot OS is a Linux distribution based on Debian with a focus on security, privacy, and development. It is considered one of the best Linux distros for forensics and penetration testing.
The distro has a large selection of tools that are neatly filed inside a categorized menu. These house the tools according to their use, such as Information Gathering, Vulnerability Analysis, Password Attacks, Digital Forensics and several more.
