The Webmin Dashboard - Dark Mode
####  --- #### Installation First, update your server’s package index if you’ve not done so recently: ```shell sudo apt update ``` Then you need to add the Webmin repository so that you can install and update Webmin using your package manager. In order for your system to trust this new repository, first you’ll download Webmin’s PGP key and then convert it to a format that `apt` can use to verify files: ```shell curl -fsSL https://download.webmin.com/jcameron-key.asc | sudo gpg --dearmor -o /usr/share/keyrings/webmin.gpg ``` This downloaded key is the same key that was used by the creator of Webmin to sign the package, and you will use this key to verify the package’s authenticity. In order to convert the `.asc` file to a workable `.gpg` file, the `gpg --dearmor` command is necessary. Next you will add this repository to your `/etc/apt/sources.list` file, while referencing your newly converted file you just acquired in the previous step. Open the file in your preferred editor. Here, you’ll use `nano`: ```shell sudo nano /etc/apt/sources.list ``` Then add this line to the bottom of the file to add the new repository: ```shell deb [signed-by=/usr/share/keyrings/webmin.gpg] http://download.webmin.com/download/repository sarge contrib ``` Save the file and exit the editor. If you had used `nano` to edit, you can exit by pressing `CTRL+X`, `Y`, then `ENTER`. Next, update the list of packages again in order to include the now-trusted Webmin repository: ```shell sudo apt update ``` Then install Webmin: ```shell sudo apt install webmin ``` Once the installation finishes, you’ll be presented with the following output: ```markdown Output . . . Webmin install complete. You can now login to https://your_server:10000 as root with your root password, or as any user who can use sudo. ```If you have installed and enabled the Ubuntu firewall (ufw), you will need to run the following command in order to allow Webmin through the firewall:
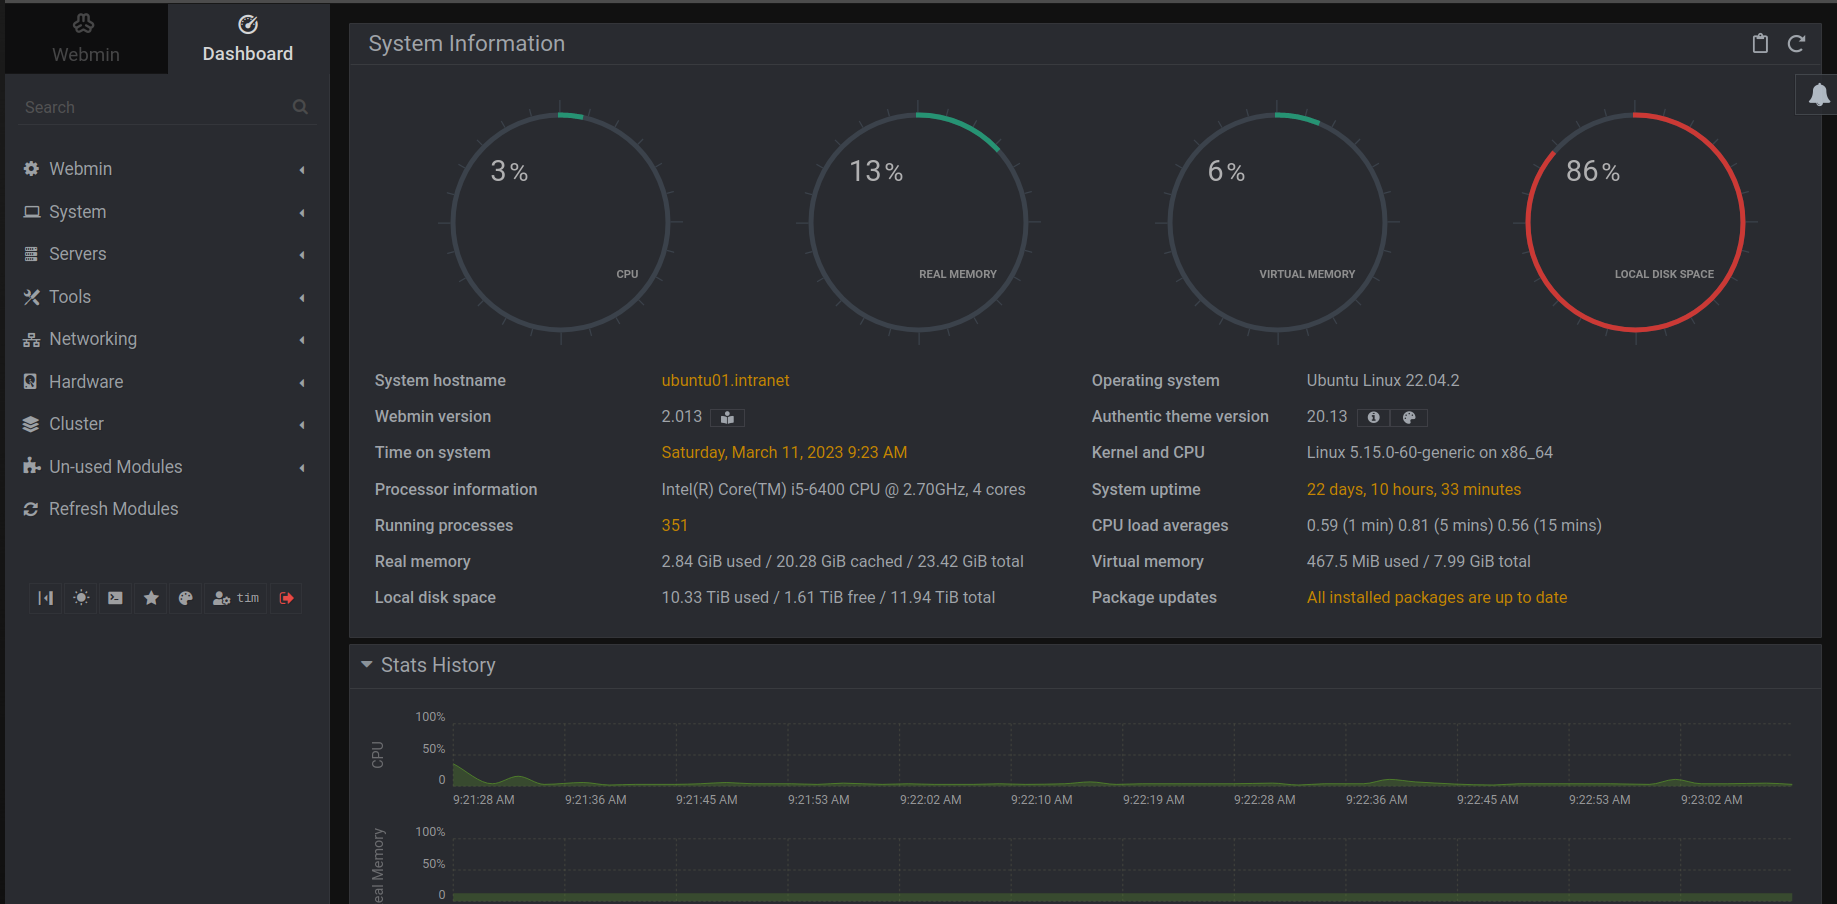
```shell sudo ufw allow 10000 ``` #### Adding a Valid Certificate with Let’s Encrypt ***Although I use a reverse proxy to manage my internal websites; with valid certificates for each site including Webmin, you can use a separate certificate with Webmin directly. The following tutorial from* [Digital Ocean](https://www.digitalocean.com/) *outlines that process.*** Webmin is already configured to use HTTPS, but it uses a self-signed, untrusted certificate. Let’s replace it with a valid certificate from Let’s Encrypt. Navigate to `https://your_domain:10000` in your web browser, replacing 'your\_domain' with the domain name pointing to the domain name of your Webmin server or you can use your server’s IP address. **Note:** When logging in for the first time, you will see an “Invalid SSL” warning. This warning may say something different depending on your browser, but the reason for it is that the server has generated a self-signed certificate. Allow the exception and proceed to your domain so you can replace the self-signed certificate with one from Let’s Encrypt. You’ll be presented with a login screen. Sign in with the non-root user you created while fulfilling the prerequisites for this tutorial. Once you log in, the first screen you will see is the Webmin dashboard. Before you can apply a valid certificate, you have to set the server’s hostname. Look for the **System hostname** field and click on the link to the right, as shown in the following figure:  This will take you to the **Hostname and DNS Client** page. Locate the **Hostname** field, and enter your Fully-Qualified Domain Name into the field. Then click the **Save** button at the bottom of the page to apply the setting. After you’ve set your hostname, click on the **Webmin** dropdown menu in the left-hand navigation bar, and then click on **Webmin Configuration**. From the **Webmin Configuration** page, select **SSL Encryption** from the list of icons, and then click on the **Let’s Encrypt** tab. You’ll see a screen like the following figure:  On this page, you’ll tell Webmin how to obtain and renew your certificate. Let’s Encrypt certificates expire after 3 months, but you can instruct Webmin to automatically attempt to renew the Let’s Encrypt certificate every month. Let’s Encrypt looks for a verification file on the server, so you’ll configure Webmin to place the verification file inside the folder `/var/www/your_domain`, which is the folder that the Apache web server you configured in the prerequisites uses. Follow these steps to set up your certificate: 1. Fill in **Hostnames for certificate** with your FQDN. 2. For **Website root directory for validation file**, select the **Other Directory** button and enter your website’s document root. Assuming you followed the [prerequisite Apache tutorial](https://www.digitalocean.com/community/tutorials/how-to-install-the-apache-web-server-on-ubuntu-20-04) this will be `/var/www/your_domain`. 3. For **Months between automatic renewal** section, deselect the **Only renew manually** option by typing `1` into the input box, and select the radio button to the left of the input box. Click the **Request Certificate** button. After a few seconds, you will see a confirmation screen. To use the new certificate, click the **Return to Webmin configuration** button on the confirmation screen. From that page, scroll down and click the **Restart Webmin** button. Wait around 30 seconds, and then reload the page and log in again. Your browser should now indicate that the certificate is valid.