Bookstack

BookStack is a simple, self-hosted, easy-to-use platform for organising and storing information.
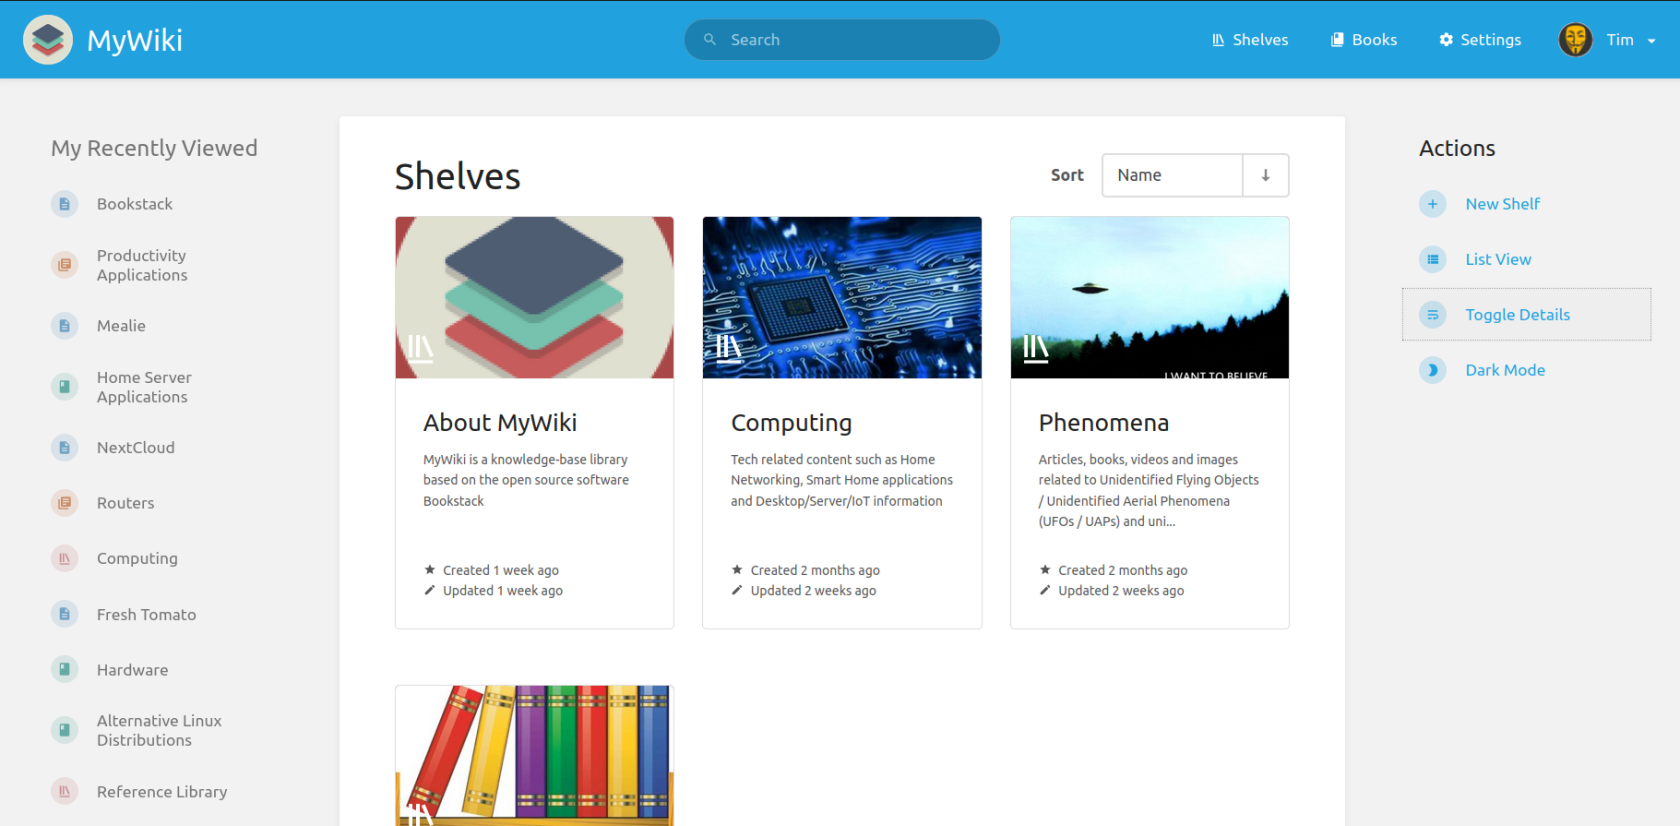
I rebranded my Bookstack instance to MyWiki and originally intended to use it only for my personal reference and possibly some journalling. I still use it for referencing but I am building it out as a "knowledge-base library" so others may benefit. If you're here, you probably figured that out already 🙂
Installation
To install Bookstack, you will need Docker installed at a minimum and optimally Docker Compose as well. This installation guide assumes you are installing Bookstack on Ubuntu 22.04 and you have both Docker and Docker Compose installed.
If you do not have Docker and Docker Compose installed, you can follow my guides for doing so by clicking these links:
You don't have to install Bookstack using containers. It's just my preference. You can see all the installation methods by going to Bookstack's official installation web page.
I am using a pre-built container from LinuxServer.io.
You gain access to the relevant container images via a Docker Compose YAML file. You will need to edit various parameters to configure Bookstack and your Bookstack database.
Container images are configured using parameters passed at runtime. These parameters are separated by a colon and indicate <external>:<internal> respectively. For example, -p 8080:80 would expose port 80 from inside the container to be accessible from the host's IP on port 8080 outside the container.
Step 1 - Create a directory to store your docker-compose.yml file.
sudo mkdir /docker/bookstackStep 2 - Create and open your docker-compose.yml for editing
cd /docker/bookstack
touch docker-compose.yml
nano docker-compose.yml
Step 3 - Copy and paste the following Docker Compose file template into your docker-compose.yml file.
---
version: "2"
services:
  bookstack:
    image: lscr.io/linuxserver/bookstack
    container_name: bookstack
    environment:
      - PUID=1000
      - PGID=1000
      - APP_URL=
      - DB_HOST=bookstack_db
      - DB_PORT=3306
      - DB_USER=bookstack
      - DB_PASS=<yourdbpass>
      - DB_DATABASE=bookstackapp
    volumes:
      - /path/to/data:/config
    ports:
      - 6875:80
    restart: unless-stopped
    depends_on:
      - bookstack_db
  bookstack_db:
    image: lscr.io/linuxserver/mariadb
    container_name: bookstack_db
    environment:
      - PUID=1000
      - PGID=1000
      - MYSQL_ROOT_PASSWORD=<yourdbpass>
      - TZ=Europe/London
      - MYSQL_DATABASE=bookstackapp
      - MYSQL_USER=bookstack
      - MYSQL_PASSWORD=<yourdbpass>
    volumes:
      - /path/to/data:/config
    restart: unless-stopped
Step 4 - Edit the file, changing the relevant portions of the template as outlined below:
- Change the PUID & GUID if you want another user or group to manage Bookstack. Leave it as it is in the template to use your current username and group.
- The APP_URL variable is for specifying the IP:port or URL your application will be accessed on (ie.
http://192.168.1.1:6875orhttps://bookstack.mydomain.com). If nothing is specified, the installation computer's IP address will be the default. - Change the TZ environment variable to reflect your timezone.
Go HERE to find your timezone
- Change DB_USER and MYSQL_USER to whatever you want, but both need to be the same user OR you can leave both as 'bookstack'.
- Change DB_PASS and MYSQL_PASSWORD to a long, strong password. Both variables need to match one another.
- Under the volumes section, change '/path/to/data' to the path of the directory where you will store your Bookstack configuration data.
Make sure the user and group you specified in your PUID & GUID has read and write permissions to the path and directory you specify.
- You can also change the port you will use to access Bookstack. The default port is 6875. You really only need to change this if that port is already in use on the computer on which you are installing Bookstack.
Once you have your docker-compose.yml configured and saved, you can start your Bookstack instance by typing:
docker compose up -dor, if using an older version of Docker Compose:
docker-compose up -dYou must run the command from the directory where you saved your docker-compose.yml file.
Access to Bookstack
From a web browser on the computer where you installed Bookstack, enter the following URL:
If you changed the default port from 6875 to something else, you will need to specify it in your URL
If you are on a different computer than the one where you installed bookstack. change localhost to reflect the IP address or domain name of the computer where Bookstack is installed.