Vaultwarden

Vaultwarden is an alternative self-hosted implementation of Bitwarden. It is compatible with all upstream Bitwarden clients
Bitwarden is an open-source password management service that stores sensitive information such as website credentials in an encrypted vault. The platform offers a variety of client applications including a web interface, desktop applications, browser extensions, mobile apps, and a command-line interface.
Installation
Pull the docker image and mount a volume from the host for persistent storage:
docker pull vaultwarden/server:latest
docker run -d --name vaultwarden -v /vw-data/:/data/ -p 80:80 vaultwarden/server:latest
Change /vw-data/ to the path where you will store your vaultwarden data locally.
Change the port if you are already using port 80 for another service on the installation computer. For example, from 80:80 to 8181:80
If you are installing on a Linux server, you can verify what ports are in use by using this command
sudo ss -ltnIt is highly recommended to secure your Vaultwarden server using a TLS certificate. If you have an available domain name, you can get HTTPS certificates with Let's Encrypt, or you can generate self-signed certificates with utilities like mkcert. Some proxies automate getting certificates, like NGINX Proxy Manager.
Accessing Vaultwarden
Browser
To access your Vaultwarden server from a web browser, locally
http://localhost:port where 'localhost' is the IP address of your Vaultwarden server and 'port' is the port number you defined in your docker container if it is any port other than port 80.
You should see a screen similar to this:
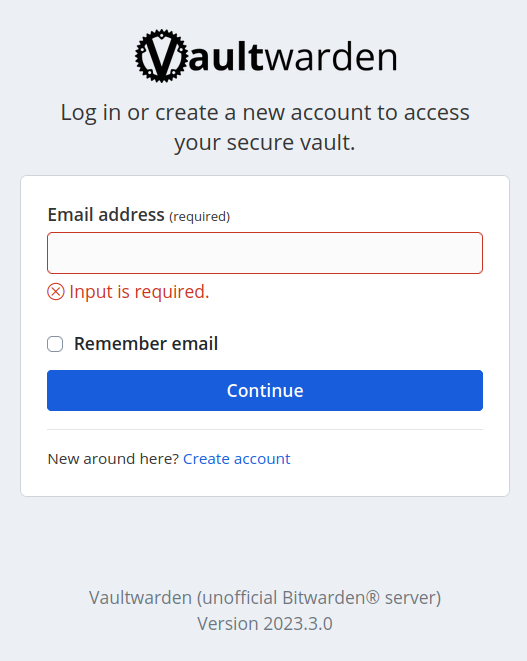
You will need to create an account to use it. Just click the 'Create account' link on the page.
It is also worth noting that you can export your current Bitwarden data (if you already had a Bitwarden account) directly into Vaultwarden by using any Bitwarden client's 'Export Vault' function while logged with your Bitwarden account. You can export into .json or csv formats. You then log out of your Bitwarden account and and login using your Vaultwarden account on that same client and import your data using the 'Import Vault' function. Your data will then automatically sync to any other Bitwarden client where you have your Vaultwarden account set up.
Clients
You can access you Vaultwarden server using any of the clients supported by Bitwarden. To set your Bitwarden clients to point to your Vaultwarden server, follow these instructions:
Browser Extension or Mobile App
To connect a browser extension or mobile app to your Vaultwarden server:
-
Log out of your Bitwarden browser extension or mobile app.
-
On the login screen, select the
 Settings icon.
 -
In the Server URL field, enter the domain name for your server with
https://(for example,https://my.bitwarden.domain.com). -
Select Save.
You must have your Vaultwarden server setup with a domain name and a TLS or self-signed certificate for this to work
Desktop Client
Each account that's logged in to your desktop app can be connected to a different server. For example, you can have one account that connects to a Bitwarden server in the cloud and another account that connects to a private Vaultwarden server.
To connect your desktop client to point to your Vaultwarden server:
-
Log out of your account in your Bitwarden desktop app OR select + Add Account.
-
On the login screen, select the
Settings icon. -
In the Server URL field, enter the domain name for your server with
https://(for example,https://my.bitwarden.domain.com). -
Select Save.