Portainer

Portainer Community Edition is a lightweight service delivery platform for containerized applications that can be used to manage Docker, Swarm, Kubernetes and ACI environments. It is designed to be as simple to deploy as it is to use. The application allows you to manage all your orchestrator resources (containers, images, volumes, networks and more) through a ‘smart’ GUI and/or an extensive API.
Portainer consists of a single container that can run on any cluster. It can be deployed as a Linux container or a Windows native container.
Introduction
Portainer consists of two elements, the Portainer Server, and the Portainer Agent. Both elements run as lightweight Docker containers on a Docker engine. This document will help you install the Portainer Server container on your Linux environment. To add a new Linux environment to an existing Portainer Server installation, please refer to the Portainer Agent Installation section of this guide.
- The latest version of Docker installed and working
- sudo access on the machine that will host your Portainer Server instance
- By default, Portainer Server will expose the UI over port
9443and expose a TCP tunnel server over port8000.- The latter is optional and is only required if you plan to use the Edge compute features with Edge agents.
Deployment
First, create the volume that Portainer Server will use to store its database:
docker volume create portainer_dataThen, download and install the Portainer Server container:
docker run -d -p 8000:8000 -p 9443:9443 --name portainer --restart=always -v /var/run/docker.sock:/var/run/docker.sock -v portainer_data:/data portainer/portainer-ce:latestBy default, Portainer generates and uses a self-signed SSL certificate to secure port 9443. Alternatively you can provide your own SSL certificate during installation or via the Portainer UI after installation.
If you require HTTP port 9000 open for legacy reasons, the following to your docker run command: add -p 9000:9000
Portainer Server has now been installed. You can check to see whether the Portainer Server container has started by running:
docker psIf all is well, you should see container is Up
root:~# docker ps
CONTAINER ID   IMAGE                          COMMAND                  CREATED       STATUS      PORTS                                                                                  NAMES
de5b28eb2fa9   portainer/portainer-ce:latest  "/portainer"             2 weeks ago   Up 9 days   0.0.0.0:8000->8000/tcp, :::8000->8000/tcp, 0.0.0.0:9443->9443/tcp, :::9443->9443/tcp   portainer
Logging In
Now that the installation is complete, you can log into your Portainer Server instance by opening a web browser and going to:
https://localhost:9443localhost with the relevant IP address or FQDN if needed, and adjust the port if you changed it earlier.You will be presented with the initial setup page for Portainer Server.
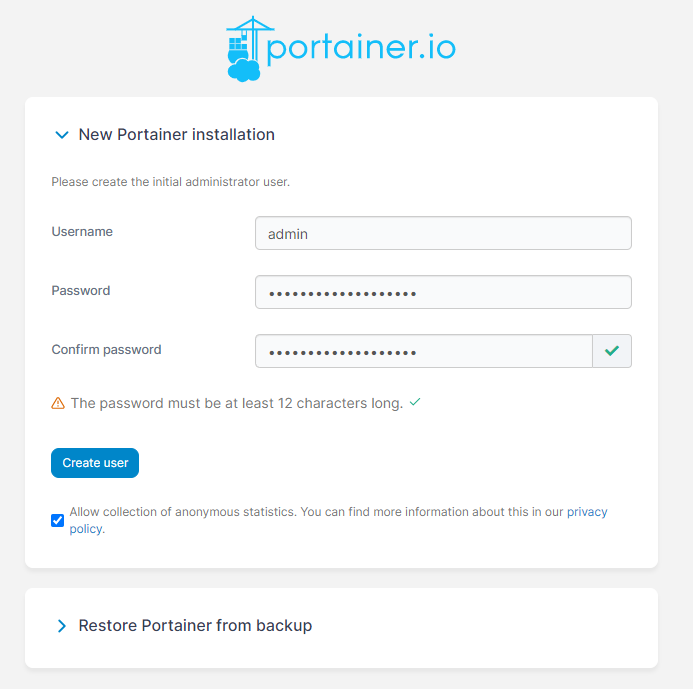
Initial Setup
Your first user will be an administrator. The username defaults to admin but you can change it if you prefer.
The password must be at least 12 characters long and meet the listed password requirements.
Once the admin user has been created, the Environment Wizard will automatically launch.
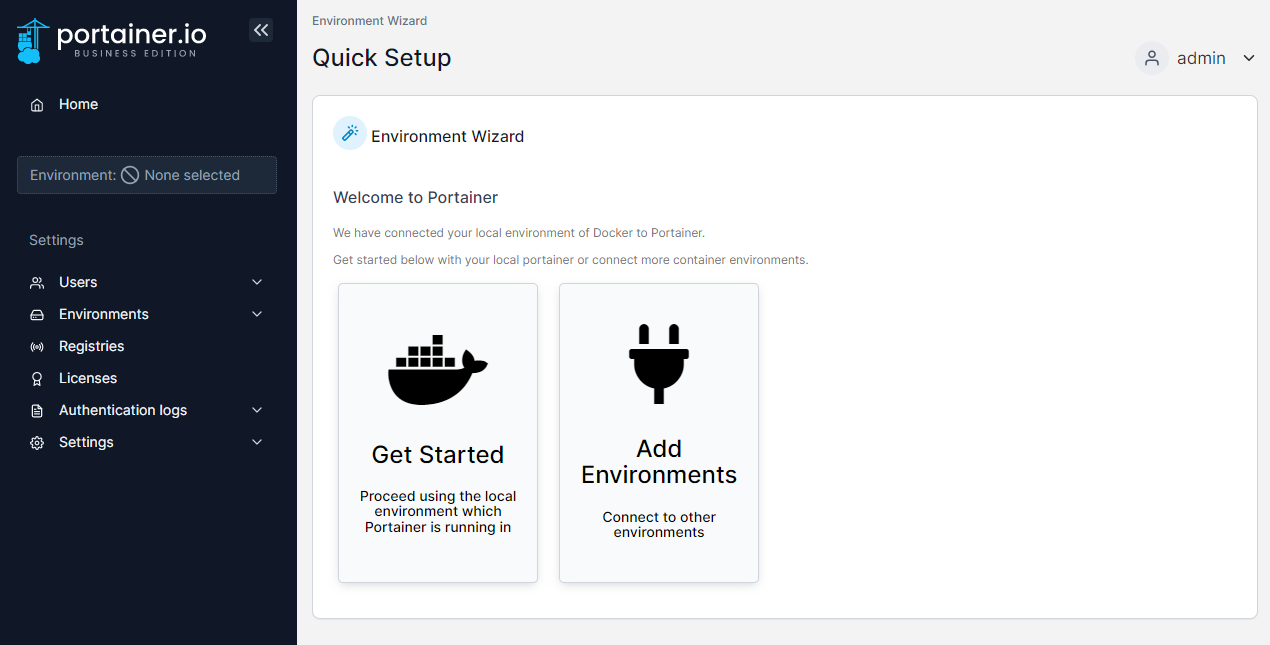
The installation process automatically detects your local environment and sets it up for you.
If you want to add additional environments to manage with this Portainer instance, click Add Environments.
Otherwise, click Get Started to start using Portainer!
Portainer Agent Installation
docker run -d -p 9001:9001 --name portainer_agent --restart=always -v /var/run/docker.sock:/var/run/docker.sock -v /var/lib/docker/volumes:/var/lib/docker/volumes portainer/agent:latestOnce the agent has been installed you are ready to add the environment to your Portainer Server installation.